


Keeping up with the maintenance of your e-cigarette is crucial to ensure your vape operates at optimal levels for a long time. Think of your e-cig like a car, you need to take it in for regular services to keep the mechanisms running. For your vape, cleaning and replacing parts regularly ensures the device doesn’t break down.
Everyone is guilty of letting their vape maintenance slide from time to time, but spending half an hour to take care of your vape pays off in abundance. Some warning signs that your vape needs a service are:
- Your vape starts to taste metallic: this can mean your coil has burnt out.
- Your e-liquids don’t taste the same: this can mean your vape tank needs to be cleaned or replaced.
- Cloud production has suffered: this could show your coil can’t heat and cool as efficiently.
- Your device gurgles when being used: the vape tank may have flooded.
Most people start vaping as a safer alternative to smoking cigarettes, so it’s important to ensure your electronic cigarette is operating properly to ensure a safe vaping experience. How exactly should you take care of your vaping device? What steps do you need to take to keep your vape on top form?
If you don’t have the time to read the blog, find our video of these maintenance tips below:
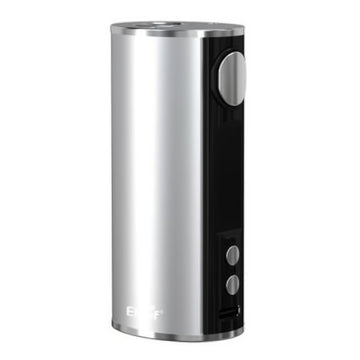
Tip 1: Take care when recharging your vape.
Different types of vapes have different requirements when it comes to charging the battery of your e-cigarette.
For internal kits, we advise that you let the battery of your vape run as low as possible before charging it. This is because every rechargeable battery has a limited “recharge cycle”, meaning the amount of times you can recharge the battery before it burns out. Most vape kits with internal batteries have in-built safety mechanisms.
For external battery kits, the performance of your vape will rely on the performance of the battery. We still recommend that you discharge the battery close to fully. You may wish to recharge your battery before it hits zero to ensure the performance of your kit. You should use a dedicated charger for your vape batteries, keeping them paired to ensure consistent levels of charge between the cells. We stock plenty of chargers for external batteries, so you can keep your vape performing to the best of its ability.
Tip 2: Make sure to keep your e-liquid above the line.
This one is pretty self explanatory. Just like you wouldn’t let your car run on empty, don’t let the tank in your vape go dry. Not having a sufficient amount of e-liquid in your vape kit will place strain on each of the component parts of the device when vaping.
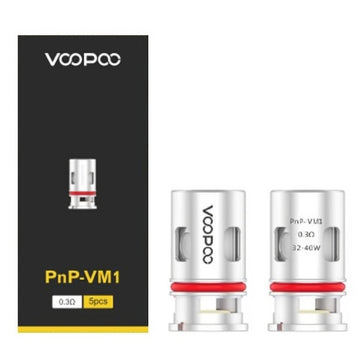
Tip 3: Prime your coil before placing it into your kit.
Everyone knows to change the coil in your vape regularly, but priming your coil when replacing it can make a world of difference. Soak the cotton wick in e-liquid before use to ensure the coil does not overheat or burn through the material.
To make sure that the wick is fully saturated before you use your new coil, inhale a couple of times whilst your device is switched off. This will draw the e-liquid through the cotton material and ensure your new coil is primed effectively.
Tip 4: Clean your mouthpiece, obviously.
An often overlooked part of your e-cigarette is the mouthpiece. Though it’s probably the most simple part of the kit to clean, many vapers will reassemble their kits without even wiping the mouthpiece.
The mouthpiece should be cleaned with either warm water or rubbing alcohol (using a cotton bud to get to the hard-to-reach part of the mouthpiece) and dried with a paper towel.
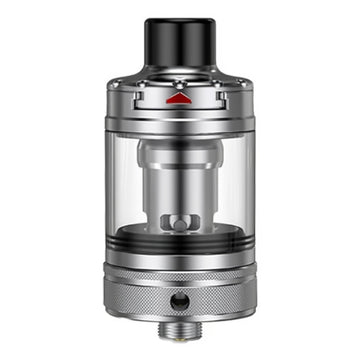
Tip 5: Soak your vape tank in warm water with a little washing up liquid to remove stubborn residue.
This is a great tip if your vape tank is looking particularly grimy. E-liquid residue can get stuck in the corners of your vape tank, especially if your e-liquid of choice is a super sweet flavour. Soaking your tank for a couple of minutes will loosen the residue and leave the tank squeaky clean.
Dry the tank with a paper towel and make sure that it air-dries completely before reassembling your e-cigarette. Any left over condensation will negatively impact your vaping experience, hinder the performance of your next coil and may impact the flavour of your e-liquid.
Tip 6: Disassemble your e-cigarette and figure out what goes where.
Vape kits are mechanisms like any other, so understanding how all of the component parts fit together is key to understanding why your device may not be working as well as it used to. This is especially useful in more complicated mods which have more specialised features.
You’ll have to disassemble your vape when cleaning the device anyway, so knowing how all of the parts fit together will make the cleaning process simpler.
Tip 7: If your e-liquid has crystallised, place the sealed bottle in a bowl of hot water to dissolve the crystals.
On very rare occasions, the VG in your e-liquid can crystallise if it is not stored correctly. Just like honey, these crystals will dissolve when the liquid is heated gently, so be sure to do this step before refilling your tank.
Once the crystals in the e-liquid have dissolved, shake the sealed bottle to ensure consistency in the vape juice before refilling your tank.
Tip 8: Look after your batteries!
At the end of the day, your vape is an electronic cigarette, so ensuring your batteries are in good shape will massively impact its performance. This tip is particularly important for vapers who have external battery mods which require multiple batteries.
Some good practices for battery care are:
- Storing them in a cool, dry place away from excessive temperatures.
- Pick a wattage that suits your vaping style (within safe limits). For sub-ohm vaping you’re going to want to use a battery with a slightly higher voltage so you have more room to play around with resistance.
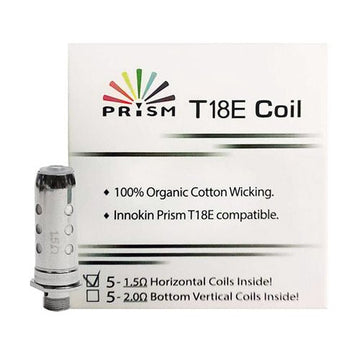
Tip 9: Replace your coil, don’t clean it.
Look, we’ve all been there. Trying to extend the life of your coil is a rookie mistake most new vapers will make. Coils are designed to rapidly heat and cool, so they are going to burn out eventually.
Most modern vape kits will have an in-built pod which is super convenient to replace. Once you get that tell-tale burnt taste, it’s time to cut your losses and replace your coil.